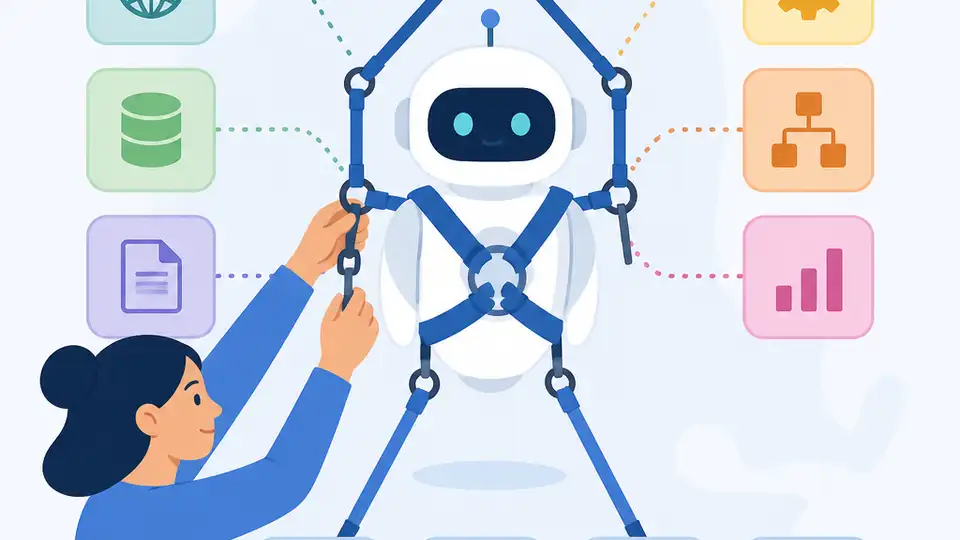
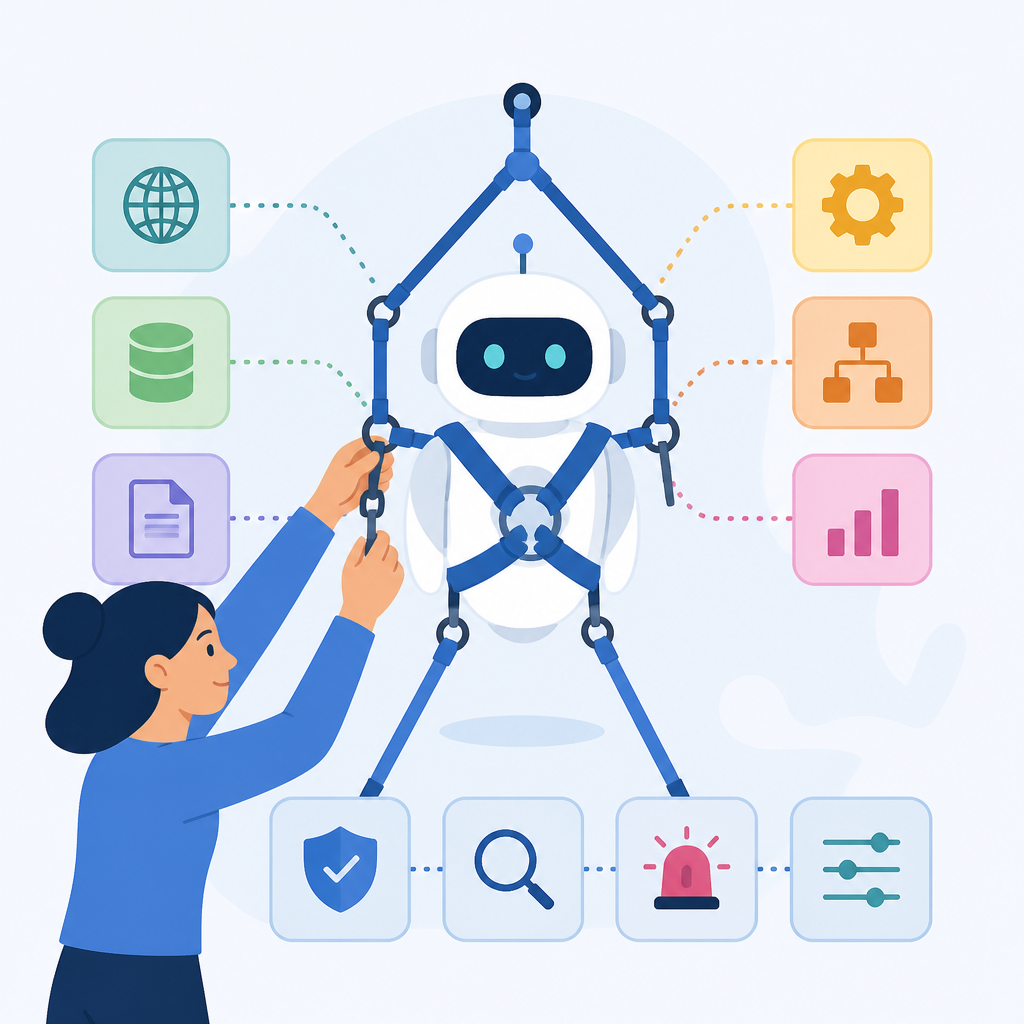
How to Build a Harness for AI Agents
Harness engineering defines the control system that lets an AI agent perceive, act, and verify output.
Harness engineering defines the control system that lets an AI agent perceive, act, and verify output.
This guide is for developers who want to move beyond prompt tuning and build a dependable agent loop with clear inputs, actions, and checks. After following the steps, you will have a simple harness design you can adapt to any model, plus a working mental model for where the model ends and the control logic begins.
The core idea is simple: an agent is not just a model, it is a model wrapped in a harness that decides what it can see, what it can do, and how its results are validated. That separation is what makes agent behavior easier to debug, safer to run, and more consistent in production.
Before you start
Get the latest AI news in your inbox
Weekly picks of model releases, tools, and deep dives — no spam, unsubscribe anytime.
No spam. Unsubscribe at any time.
- OpenAI or Anthropic API account with a valid API key.
- Node.js 20+ or Python 3.11+.
- Git 2.40+.
- A terminal and a code editor.
- Basic familiarity with JSON, HTTP requests, and function calling.
- Optional: access to the [OpenAI docs](https://platform.openai.com/docs) and the [OpenAI GitHub repo](https://github.com/openai/openai-openapi), or the equivalent docs and SDK for your chosen model provider.
Step 1: Define the agent boundary
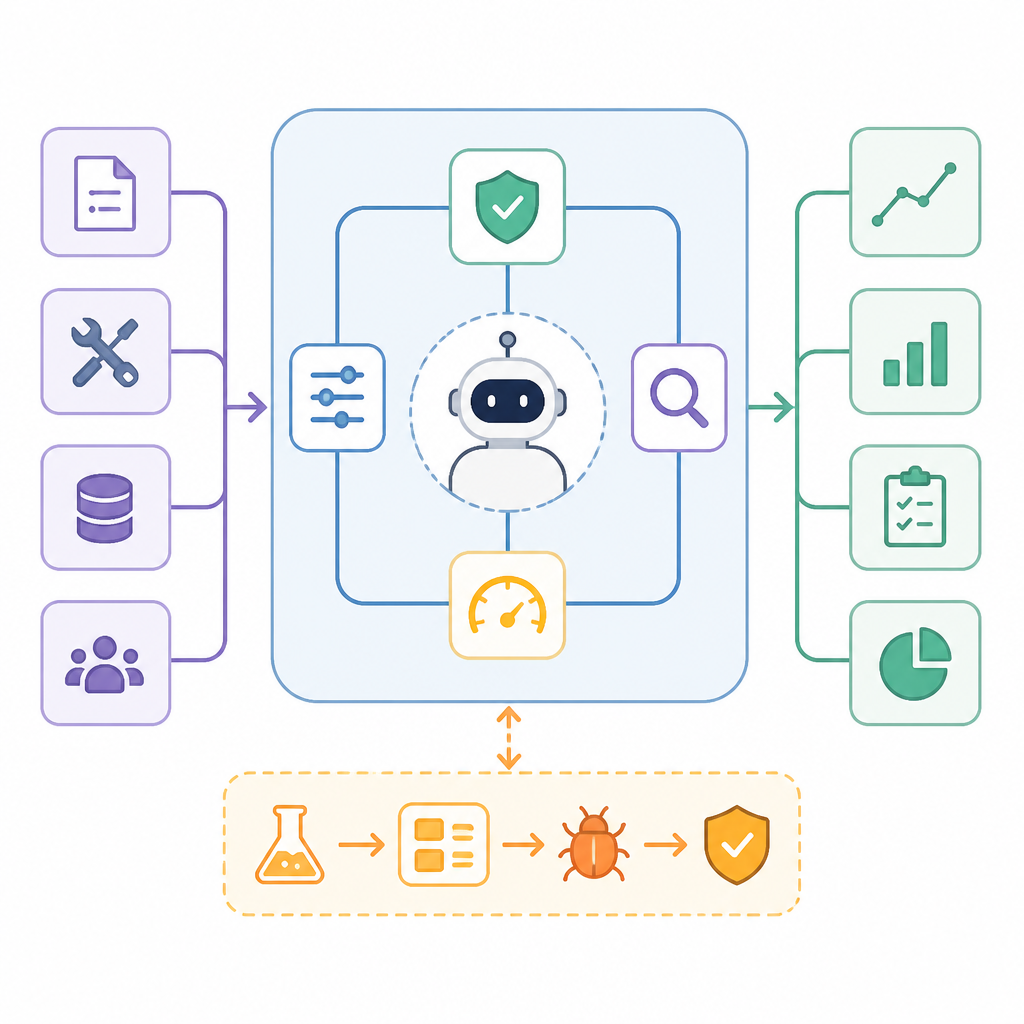
Your first goal is to separate the model from the harness so you can reason about each part independently. The model should generate candidate actions or answers, while the harness owns state, tool access, retries, and validation.
Write down three boxes: input from the environment, policy inside the harness, and output back to the user or tool. A minimal boundary definition looks like this:
Environment -> Harness -> Model -> Harness -> Tools/Checks -> Final OutputYou should be able to explain, in one sentence, which component is allowed to call APIs, which component stores memory, and which component decides whether a response is acceptable. If that is unclear, the boundary is still too loose.
Step 2: Model the observation schema
The next goal is to control what the agent can perceive. In harness engineering, the observation schema is the structured view of the world that you pass into the model, such as user intent, recent messages, tool results, and constraints.
Use a JSON shape so the model sees stable fields instead of an unstructured blob. For example, keep observations small and explicit:
{
  "goal": "summarize invoice",
  "messages": ["..."],
  "tool_results": [],
  "constraints": ["no PII", "return JSON"]
}
You should see the same keys on every turn, even when the values change. That consistency makes prompt updates safer and makes it easier to test whether the harness, not the model, is responsible for bad behavior.
Step 3: Register allowed actions
Your next goal is to restrict what the agent can do. Instead of letting the model improvise, define a small action set such as search, fetch, calculate, write, or escalate. The harness should translate those actions into real API calls.
Create a tool registry with names, input schemas, and permission rules. A simple registry might look like this:
tools:
  - name: search_docs
    input: { query: string }
  - name: fetch_record
    input: { id: string }
  - name: submit_answer
    input: { text: string }
You should be able to reject any action that is not in the registry. If the model asks for an unsupported tool, the harness should return a controlled error instead of executing anything unexpected.
Step 4: Add validation and retry logic
Your goal here is to make the harness verify output before it is accepted. This is where harness engineering differs from prompt engineering, because the harness can inspect structure, policy, and confidence before it commits a result.
Implement checks for schema validity, forbidden content, and task-specific rules. Then add a retry path that feeds the failure reason back to the model. A practical pattern is:
if !valid_json(output) or !passes_policy(output) {
  retry_with_error_context();
}
You should see fewer malformed responses and fewer silent failures. A good verification step is to log accepted versus rejected outputs so you can tell whether the harness is catching issues early.
Step 5: Close the loop with state and memory
The final goal is to preserve only the state that helps the agent do its job. The harness should decide what to remember, what to summarize, and what to discard between turns.
Store durable state separately from transient context, and update it only after a successful validation step. That can be as simple as a session record with current task, tool history, and last confirmed result.
You should see the agent behave more consistently across multiple turns because the harness is now carrying the state instead of relying on the model to reconstruct everything from raw chat history. At this point, you have the basic agent equation in place: model for reasoning, harness for control.
Common mistakes
- Letting the prompt do all the work. Fix: move tool choice, schema checks, and retries into the harness so the prompt only supplies reasoning context.
- Giving the model too much context. Fix: pass a compact observation schema and summarize older state before each turn.
- Trusting the first answer. Fix: validate structure and policy before acceptance, then retry or escalate when checks fail.
What's next
Once your harness works, the next step is to add evaluation scripts, tracing, and sandboxed tool execution so you can measure reliability over time and harden the agent for production use.
// Related Articles
- [AGENT]
Claude Code 动态工作流:AI 自写 Harness
- [AGENT]
Agent orchestration is the missing layer for enterprise AI
- [AGENT]
AI agents use blockchain as a trust layer
- [AGENT]
8 RAG patterns that turn demos into prod
- [AGENT]
Fine-tuning beats RAG when the goal is style, not facts
- [AGENT]
OpenClaw shows how small businesses use AI staff