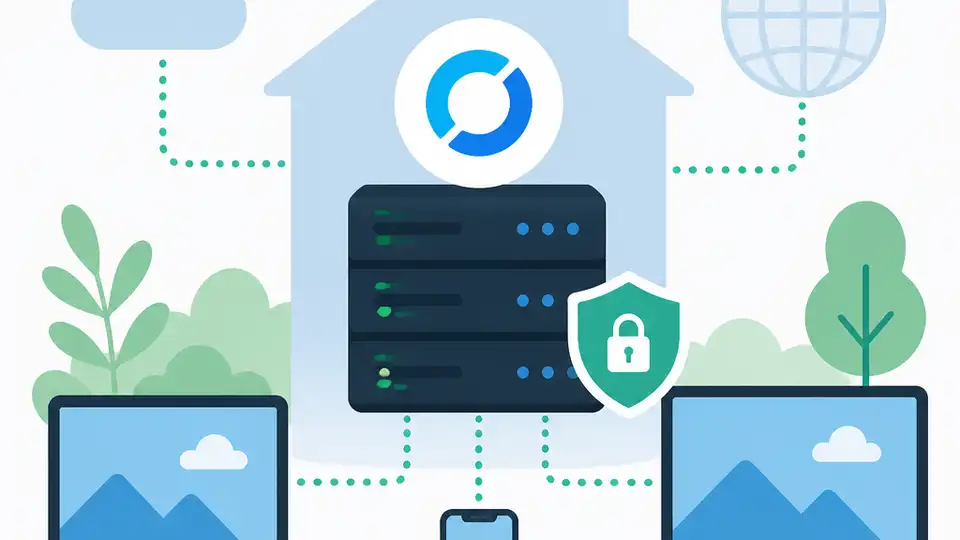
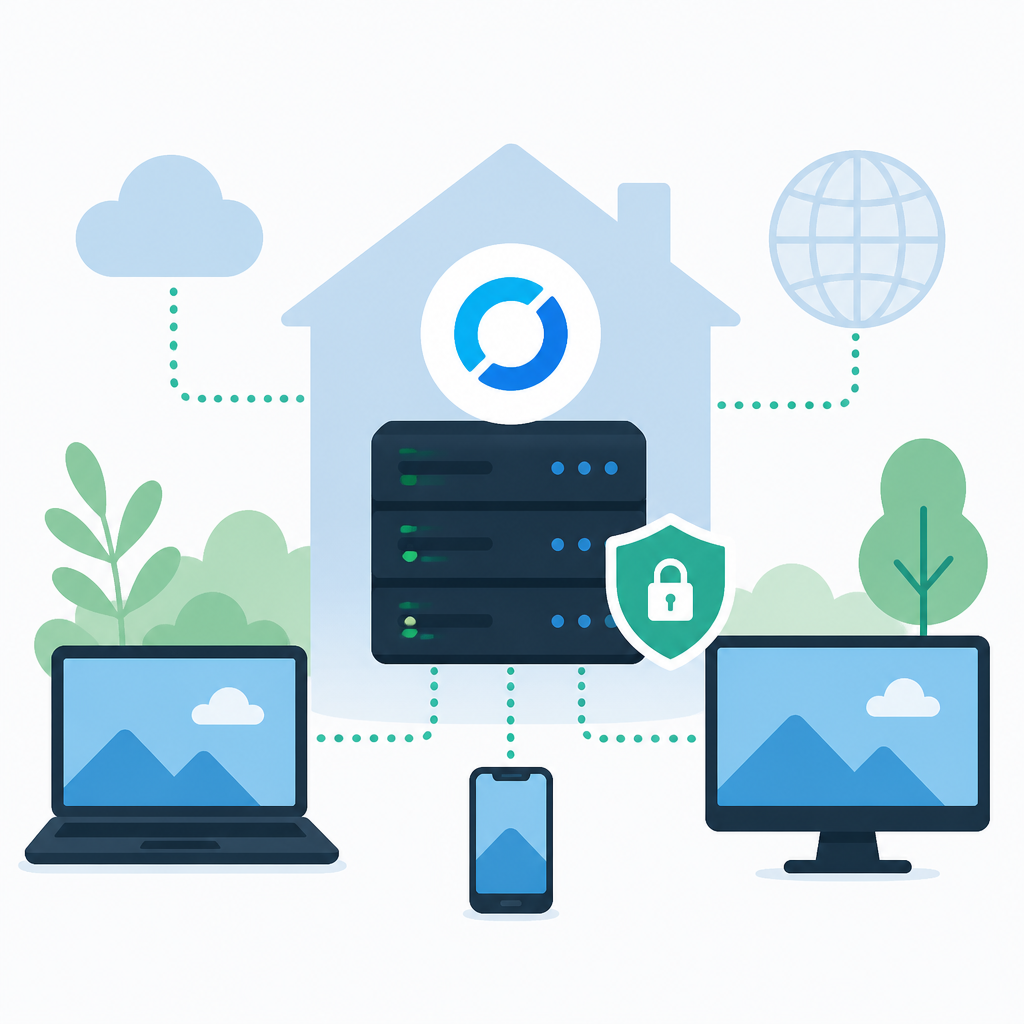
RustDesk self-hosting setup for secure remote access
Set up RustDesk clients and self-hosted servers for secure remote access.
Set up RustDesk clients and self-hosted servers for secure remote access.
This guide is for developers, IT admins, and infrastructure teams who want to deploy RustDesk as a secure remote desktop platform they control. After following the steps, you will have a working client setup, a self-hosted RustDesk server path chosen, and a verified remote access flow across your environment.
RustDesk is an open source remote desktop alternative with client apps for major platforms and server options for both OSS and Pro deployments. The official documentation is available at RustDesk Documentation, and the main codebases are on GitHub.
Before you start
Get the latest AI news in your inbox
Weekly picks of model releases, tools, and deep dives — no spam, unsubscribe anytime.
No spam. Unsubscribe at any time.
- A RustDesk account or admin access to the devices you will manage
- A public domain or reachable IP for self-hosted relay and rendezvous services
- Docker Engine 24+ if you plan to use container deployment
- Windows Server 2019+, Ubuntu 22.04+, or another supported Linux host for server deployment
- Administrator access on target endpoints for initial client setup
- Git 2.40+ if you plan to build from source
- Optional: SMTP credentials, LDAP server details, or OIDC provider settings for Pro features
Step 1: Choose your RustDesk deployment path
Your first goal is to pick the correct RustDesk path so you do not overbuild the environment. RustDesk offers a client-only setup, an open source self-hosted server, a Pro server with web console and enterprise controls, and a development path for building from source.
The official decision tree is simple: use the RustDesk client for end users, RustDesk Server OSS for free self-hosting, and RustDesk Server Pro if you need web console, SSO, or access control.
Verification: you should see one clear target path selected for your environment, with either client-only, OSS server, Pro server, or development as the outcome.
Step 2: Install the RustDesk client
Your next goal is to get one endpoint online so you can confirm the remote desktop workflow before scaling out. Install the RustDesk client on a Windows, macOS, Linux, iOS, or Android device that you can reach during testing.
Windows: download the MSI or portable build from the RustDesk client page, then run the installer or launch the portable app.
Linux: install the package for your distro, then start RustDesk from the app menu or terminal.
macOS: drag the app into Applications and open it.

After launch, note the device ID and temporary password shown in the client.
Verification: you should see a device ID, a password, and the client ready to accept or initiate a connection.
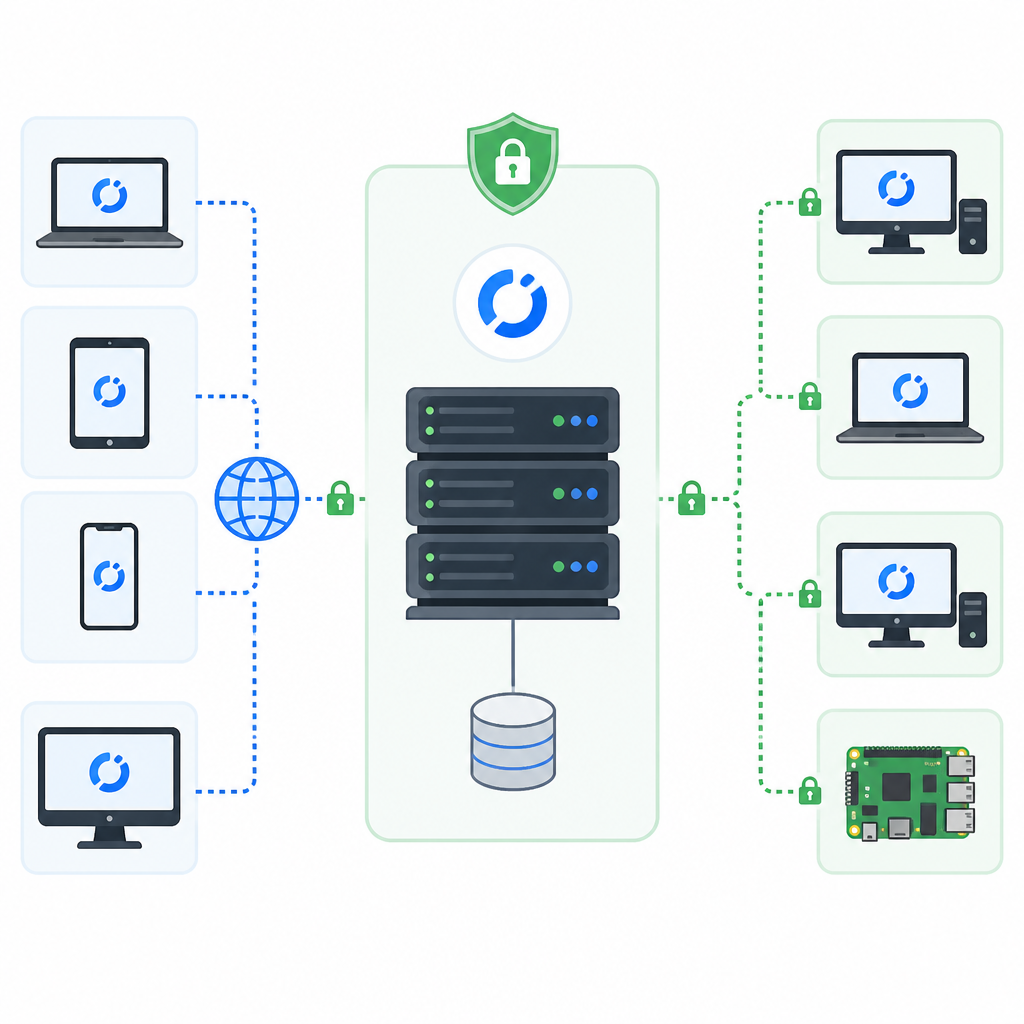
Step 3: Deploy the RustDesk server
Your goal here is to self-host the relay and rendezvous services so traffic stays inside infrastructure you control. Choose the OSS server if you want a free open source deployment, or choose Pro if you need the web console and advanced controls.
For a container-based setup, use the deployment method described in the server repository and point it at a host with a public address or stable DNS name. The server components must be reachable by all clients that will connect through them.
Verification: you should see the server containers or services running, and the host should accept inbound connections on the ports required by your chosen deployment.
Step 4: Point clients at your server
Your goal is to make every RustDesk client use your own relay and rendezvous endpoints instead of the public defaults. Open the client settings and enter the server address, relay address, and any required key or pairing value from your server deployment.
For managed rollouts, use the client deployment and advanced settings guidance in the documentation so you can preconfigure endpoints before users open the app. This is the step that turns a standalone client into part of your infrastructure.
Verification: you should see the client status change to show your custom server values, and a test connection should route through your self-hosted services.
Step 5: Validate secure remote access
Your goal is to confirm that a real remote session works end to end with the expected security properties. Start a connection from one client to another, confirm the session negotiates successfully, and check that the endpoints are using the configured RustDesk server path.
RustDesk supports peer-to-peer connection with end-to-end encryption based on NaCl, and the docs note that no administrative privileges are needed for normal use on Windows unless you elevate locally or on demand. Use that behavior to test both standard and elevated access if your workflow requires it.
Verification: you should see a live remote desktop session, encrypted traffic flowing through the chosen path, and the target machine responding as expected.
Common mistakes
- Using the client before the server is reachable - fix this by confirming DNS, firewall rules, and port exposure before onboarding endpoints.
- Picking Pro features without the right license - fix this by matching your deployment to OSS if you only need self-hosting without web console or SSO.
- Forgetting to preconfigure client endpoints - fix this by using advanced settings or deployment tooling so users do not have to enter server details manually.
What's next
After the first deployment works, move on to client automation, access control, and identity integration such as LDAP or OIDC, then document your standard rollout so new devices can be added without manual setup.
// Related Articles
- [TOOLS]
500 AI agent projects show where agents work now
- [TOOLS]
Chocolatey’s Go package turns installs into policy
- [TOOLS]
Go support policy turns releases into a checklist
- [TOOLS]
Aider turns open-source coding into repo edits
- [TOOLS]
WWDC 2026 rumors turn Siri into a real assistant
- [TOOLS]
Figma adds MCP-linked Make, agent, and QA tools