How to use Roboflow MCP in Claude Code
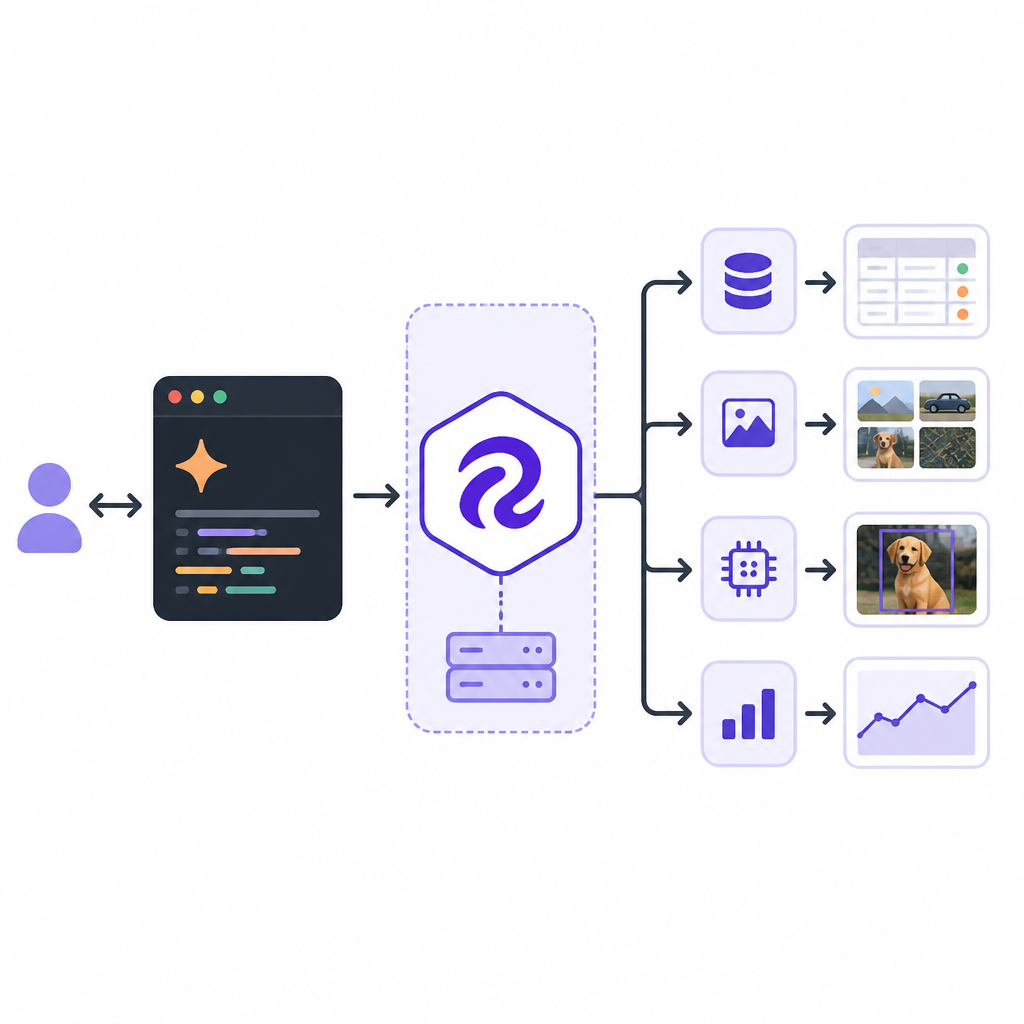
Use Roboflow MCP with Claude Code to create, train, and run computer vision Workflows from the terminal.

Use Roboflow MCP with Claude Code to create, train, and run computer vision Workflows from the terminal.
This guide is for developers who want to manage a Roboflow computer vision project without bouncing between the browser, API docs, and custom scripts. By following the steps below, you will connect Claude Code to Roboflow MCP, upload images, create and train a model, and build a Workflow you can query from your terminal.
You will end with a working Roboflow project, a trained detector, and a repeatable terminal-based flow for inspecting and running Workflows. The example uses bird species monitoring, but the same pattern applies to other object detection pipelines.
Before you start
Get the latest AI news in your inbox
Weekly picks of model releases, tools, and deep dives — no spam, unsubscribe anytime.
No spam. Unsubscribe at any time.
- Roboflow account with a Private API key
- Claude Pro or Claude Max subscription with Claude Code access
- Windows PowerShell, macOS Terminal, or Linux shell
- Node.js 20+ if your Claude Code install path requires it
- At least 50 JPG or PNG images for your dataset
- Optional: existing annotation files in YOLO or COCO format
Make sure your images are grouped in a single folder and that the dataset has enough variety in lighting, distance, and angle. A broader image mix gives you a more useful first model.

Have your Roboflow workspace ready before you start. You will need to copy your API key from the Roboflow dashboard and paste it into the MCP connection command.
Step 1: Install Claude Code
Goal: get the terminal client that will talk to Roboflow MCP on your behalf.
Install Claude Code, then confirm the binary is available in your shell.
irm https://claude.ai/install.ps1 | iex
claude --version
After the installer finishes, Claude Code should open a browser sign-in flow for your Anthropic account. When the version command returns a version string, the install is complete.
You should see a Claude Code version output in the terminal, which confirms the CLI is ready.
Step 2: Connect the Roboflow MCP server
Goal: register Roboflow as an MCP tool source inside Claude Code.
Copy your Roboflow Private API key from the Roboflow dashboard, then add the MCP server with the HTTP transport.
claude mcp add roboflow `
  --transport http https://mcp.roboflow.com/mcp `
  --header "x-api-key: YOUR_ROBOFLOW_API_KEY" `
  --header "Accept: application/json, text/event-stream"
Replace the placeholder with your actual API key, then verify the connection.
claude mcp listYou should see roboflow listed as a connected MCP server. That means Claude Code can now call Roboflow tools such as project creation, uploads, training, and Workflow operations.
If the server is missing, recheck the API key and the exact MCP URL. A successful list command is the signal that the connection is live.
Step 3: Create a project and upload images
Goal: create a fresh Roboflow project and ingest your dataset from the terminal.
Start Claude Code in a project folder, then ask it to create an object detection project in your default workspace.
mkdir d:\projects\bird-monitor
cd d:\projects\bird-monitor
claude
Inside Claude, request the workspace list and project creation in one prompt. For example: list my Roboflow workspaces, then create a new object detection project called bird-species-monitor in my default workspace.
Next, zip your images and upload them through the MCP tools. Claude Code can call the upload preparation tool, send the ZIP, and poll for completion.
Compress-Archive -Path "d:\projects\bird-monitor\images\*" -DestinationPath "d:\projects\bird-monitor\birds.zip"You should see a project ID or project name in Claude’s response, followed by an upload confirmation and an image count. That confirms your dataset has reached Roboflow.
If the upload count is lower than expected, check that the ZIP contains top-level images and not a deeply nested folder tree.
Step 4: Annotate and version the dataset
Goal: label the images in Roboflow and create a versioned dataset snapshot for training.
Open the Roboflow annotation UI for your project and draw bounding boxes around each bird. Assign the correct species label, then add the annotated images to the dataset and set your train, valid, and test split.
Once the labels are saved, return to Claude Code and generate a dataset version with the resize and augmentation settings you want.
Generate a dataset version for bird-species-monitor with 512x512 resize, horizontal flip, and vertical flip augmentation.You should see a version number in the response. That version number is the input you will use for training and later Workflow setup.
If the version is not created, confirm that the annotations were added to the dataset first. Roboflow needs labeled images before it can snapshot a usable version.
Step 5: Train the model and build a Workflow
Goal: train a detector from the versioned dataset and expose it through a Roboflow Workflow.
Ask Claude Code to train the model on the version you just created, using the Roboflow model family you want. In the article example, RF-DETR Small is used for the first training run.
Train a model on version 2 of the bird-species-monitor project in my workspace using RF-DETR Small.When training starts, Claude Code should return a training job reference or status message. You should see a queued or in-progress response, which confirms the cloud training run has begun.
After training completes, ask Claude to list available Workflow blocks, inspect the Workflow definition, or create a new Workflow that runs the finished detector on incoming images. Then run Workflow inference with a test image from your trail camera or feeder.
You should see the Workflow return detection results for birds in the image. That is the end-to-end proof that MCP is connected, the model is trained, and the pipeline is callable from your terminal.
| Metric | Before/Baseline | After/Result |
|---|---|---|
| Manual context switching | Multiple tools and tabs | One Claude Code session with MCP tools |
| Workflow setup | Hand-built API scripts | Natural-language Workflow creation and inspection |
| Dataset upload | Manual browser-driven uploads | ZIP upload and status polling from terminal |
Common mistakes
- Using the wrong API key: copy the Private API key from Roboflow, not a public token. If the MCP server does not connect, paste the key again and rerun
claude mcp list. - Uploading a messy ZIP structure: keep images at the top level or in one folder. If Roboflow ingests nothing, rebuild the archive with a simpler directory layout.
- Training before annotations are added: create labels and add them to the dataset first. If version generation fails, return to the annotation UI and confirm the images were added to the dataset.
One more issue to watch for is version mismatch. If Claude trains the wrong version, restate the exact version number in your prompt so the tool call targets the intended snapshot.
What's next
From here, you can expand the same MCP setup to inspect existing Workflows, update pipeline blocks, and automate inference checks on new image batches. The next useful follow-up is to connect your trained detector to a camera feed or batch job so Roboflow MCP becomes part of a repeatable vision ops loop.
// Related Articles
- [AGENT]
Claude Code 动态工作流:AI 自写 Harness
- [AGENT]
Agent orchestration is the missing layer for enterprise AI
- [AGENT]
AI agents use blockchain as a trust layer
- [AGENT]
8 RAG patterns that turn demos into prod
- [AGENT]
Fine-tuning beats RAG when the goal is style, not facts
- [AGENT]
OpenClaw shows how small businesses use AI staff