OpenClaw Update Guide: Safe Upgrades in 2026
OpenClaw updates can break tools, plugins, and config. Here’s the safest upgrade flow, with backup, rollback, and version checks.
OpenClaw ships 1–2 major point releases per month, and that pace matters. In Q1 2026 alone, three releases introduced breaking changes, so a casual update can turn into a long afternoon of config repair.
The good news: the upgrade path is simple if you treat it like a change-management task, not a quick package bump. The command openclaw update does most of the work, but the real safety net is what you do before and after it runs.
The fastest way to update OpenClaw
Get the latest AI news in your inbox
Weekly picks of model releases, tools, and deep dives — no spam, unsubscribe anytime.
No spam. Unsubscribe at any time.
The fastest path is the built-in updater. Run openclaw update and OpenClaw detects whether you installed it with npm, Homebrew, Docker, or from source. It then pulls the newest release, runs openclaw doctor, and restarts the gateway.
That convenience is nice, but it also hides complexity. If you have multiple installs on the same machine, or if your config has drifted from the current schema, the update can succeed while your agent still fails to boot cleanly.
Here’s the practical update flow I’d use on a real system:
openclaw updatefor the standard upgradeopenclaw update --channel stableif you want the default release trackopenclaw update --channel betaif you knowingly test pre-release buildsopenclaw update --dry-runto preview the changes firstopenclaw --versionandopenclaw healthafter the upgrade
If you installed OpenClaw globally with npm, the manual path is still available: npm install -g openclaw@latest, then openclaw doctor and openclaw gateway restart. The same logic applies to pnpm and source installs.
OpenClaw also supports auto-checking for updates through openclaw.json. That sounds convenient, but automatic installation is a bad idea on production systems unless you are already testing every release in a staging environment.
If you want the official install and upgrade docs in one place, start with OpenClaw on GitHub and the project’s release notes. For teams just setting up the tool, the OpenClaw getting started guide is the better first stop.
Back up the state directory before anything else
The most important part of any OpenClaw upgrade is the backup. OpenClaw keeps more than config in its state directory. It stores credentials, session tokens, memory state, and custom skills there too, which means a bad migration can damage real work, not just preferences.
OpenClaw 2026.3.8 and later includes a built-in backup command:
openclaw backup create --verify
The --verify flag checks the archive after it is created, which is a smart touch. If you are on an older release, or you want a manual fallback, archive the state directory directly:
tar -czf openclaw-state-backup-$(date +%Y%m%d).tgz ~/.openclaw
That archive usually contains these directories and files:
config/foropenclaw.jsonand identity files such asIDENTITY.md,SOUL.md, andHEARTBEAT.mdcredentials/for API keys and platform tokensmemory/for conversation history and long-term stateskills/for custom skills you wrote or installedsessions/for active session data
Store that backup somewhere encrypted, such as 1Password, AWS Secrets Manager, or an encrypted S3 bucket. A plaintext cloud folder is a bad place for API keys and session tokens.
There is one more detail that catches people off guard: where your skills live depends on the install type. On npm, Homebrew, and source installs, custom skills in ~/.openclaw/skills/ survive an update because they live in the state directory. In Docker, skills baked into the image disappear when the image changes, so mount a volume instead of baking skills into the container.
What usually breaks after an upgrade
OpenClaw’s release cadence is fast enough that breaking changes are a real pattern, not a one-off accident. In early 2026, three releases caused visible operator pain: 2026.3.2, 2026.3.8, and 2026.3.13. Those updates affected tool access, ACP routing, runtime behavior, and plugin APIs.
The most common failures are predictable once you know what to look for. The table below is the kind of cheat sheet I wish more tools shipped alongside the installer.
- Agent cannot read files or run shell commands: the tools profile defaulted to
messaging, which stripsread,write, andexec; fix it by settingtools.profile: "coding" - Gateway starts and then fails: the binary path may have changed because of multiple installs; run
openclaw gateway install --forceand restart - ACP commands route incorrectly: ACP dispatch is on by default in 2026.3.2 and later; disable it if you do not use ACP routing
- Plugins fail with
registerHttpHandler is not a function: that API was removed in 2026.3.2; move toregisterHttpRoute({ path, auth, handler }) - Skills stop loading after a Docker rebuild: the skills were in the image layer, not a mounted state volume
These are not theoretical edge cases. OpenClaw’s own GitHub issues and discussion threads have shown users losing tool access or hitting runtime failures within a day of release. If you depend on custom skills or plugin routes, treat every update like a schema migration.
Before upgrading, scan your plugin code for deprecated APIs. A quick search like rg "registerHttpHandler\(" . catches the old HTTP handler pattern before it breaks production. Also check both the global and per-agent tool settings, since agents.list[] can override the global tools profile and quietly remove permissions.
"The only way to do great work is to love what you do." — Steve Jobs
That quote gets reused a lot, but it fits here because upgrade work is one of those unglamorous tasks that pays off only when it is done carefully. If you care about the quality of your agent workflows, you have to care about the boring parts too: backups, version pins, and post-update verification.
How OpenClaw compares to package-manager upgrades
OpenClaw’s updater is more opinionated than a plain package-manager install. That’s useful, because it handles migrations and restarts for you. It also means the tool is trying to manage state, not just binaries, which raises the stakes.
Compare the common upgrade paths:
- npm:
npm install -g openclaw@latestupdates the binary, but you still need to run doctor and restart steps yourself - pnpm: similar to npm, with the same manual follow-up steps
- Homebrew: good for macOS package management, but it still does not protect your OpenClaw state directory
- Docker: easiest to pin to a known-good image tag, but you must mount the state volume or you will lose skills on rebuild
That comparison is the reason I like the built-in openclaw update command for local machines and test boxes, but prefer pinned versions plus manual rollout checks for production. The command is convenient; the release cadence makes it risky to trust blindly.
There is also a hidden cost to frequent updates. If you run through a backup, upgrade, validation, and smoke-test cycle 1–2 times per month, that can add up to dozens of maintenance hours per year. For teams billing engineering time at standard rates, this is real operational overhead, not abstract process hygiene.
If you want to reduce that overhead, the best move is to automate the parts that are safe to automate and keep human review for release notes, breaking changes, and upgrade windows. The mistake is trying to automate the decision to upgrade before you automate the recovery plan.
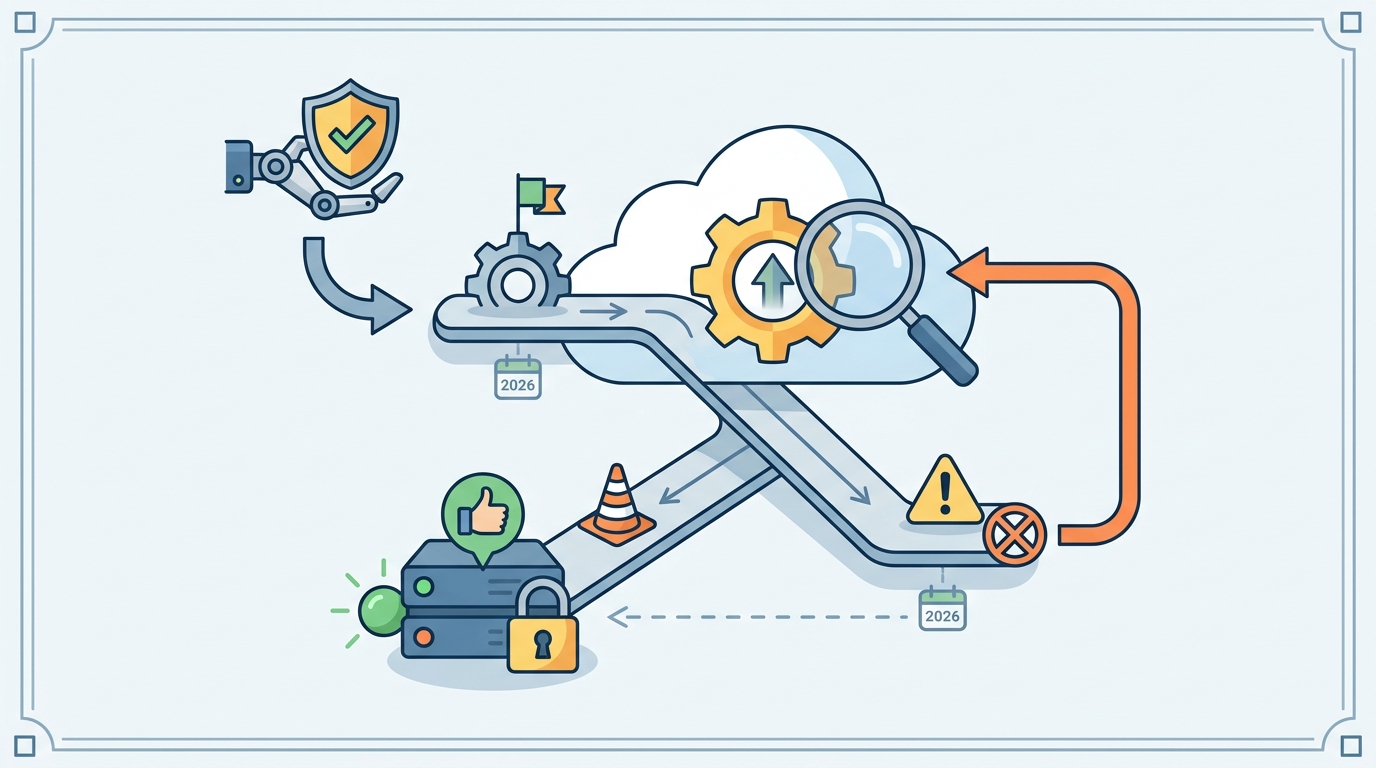
A safer upgrade routine for production teams
The most reliable workflow is repetitive, and that is the point. Before every update, back up the state directory, read the release notes, and check for any BREAKING CHANGE: labels in the GitHub releases page. Then run the update, validate the config, and test a real workflow instead of trusting a green health check alone.
Here is the routine I would standardize for teams running OpenClaw in production:
- Back up with
openclaw backup create --verifyor a manual archive - Review the release notes on OpenClaw releases
- Run
openclaw update --dry-runfirst when possible - Update with
openclaw update - Run
openclaw config validatebefore a full restart - Check
openclaw config get toolsandopenclaw config get agents - Execute a real task to confirm the agent can read, write, and call tools
If the update fails, rollback is straightforward when you have a backup. Reinstall the prior version, restore the state archive, run openclaw doctor, and restart the gateway. For Docker, pin the image tag to the last known good release. For source installs, check out the commit before the regression and rebuild from there.
The part I would not skip is a smoke test that exercises a real skill or plugin route. Health checks can pass while a tool profile is broken, and that is how teams lose time after a release that looked fine on paper.
My prediction is simple: as OpenClaw keeps shipping frequent point releases, the teams that survive upgrades cleanly will be the ones that treat backups, release-note review, and config validation as part of the normal deployment path. If you are running OpenClaw in production today, the next question is not whether to update, but whether your rollback plan is already written down.
// Related Articles
- [TOOLS]
Aliyun Bailian Token Plan turns credits into agents
- [TOOLS]
One API gateway turns six AI APIs into one
- [TOOLS]
OpenAI FDEs turn broken agents into shipped systems
- [TOOLS]
Anthropic’s daily brief turns news into a workflow
- [TOOLS]
Claude Reflect turns usage into retention
- [TOOLS]
Midjourney turns prompt ideas into art