How to Update OpenClaw on Any Platform
Update OpenClaw on Mac, Windows, Linux, or Docker with version checks, backups, and fixes for common upgrade problems.

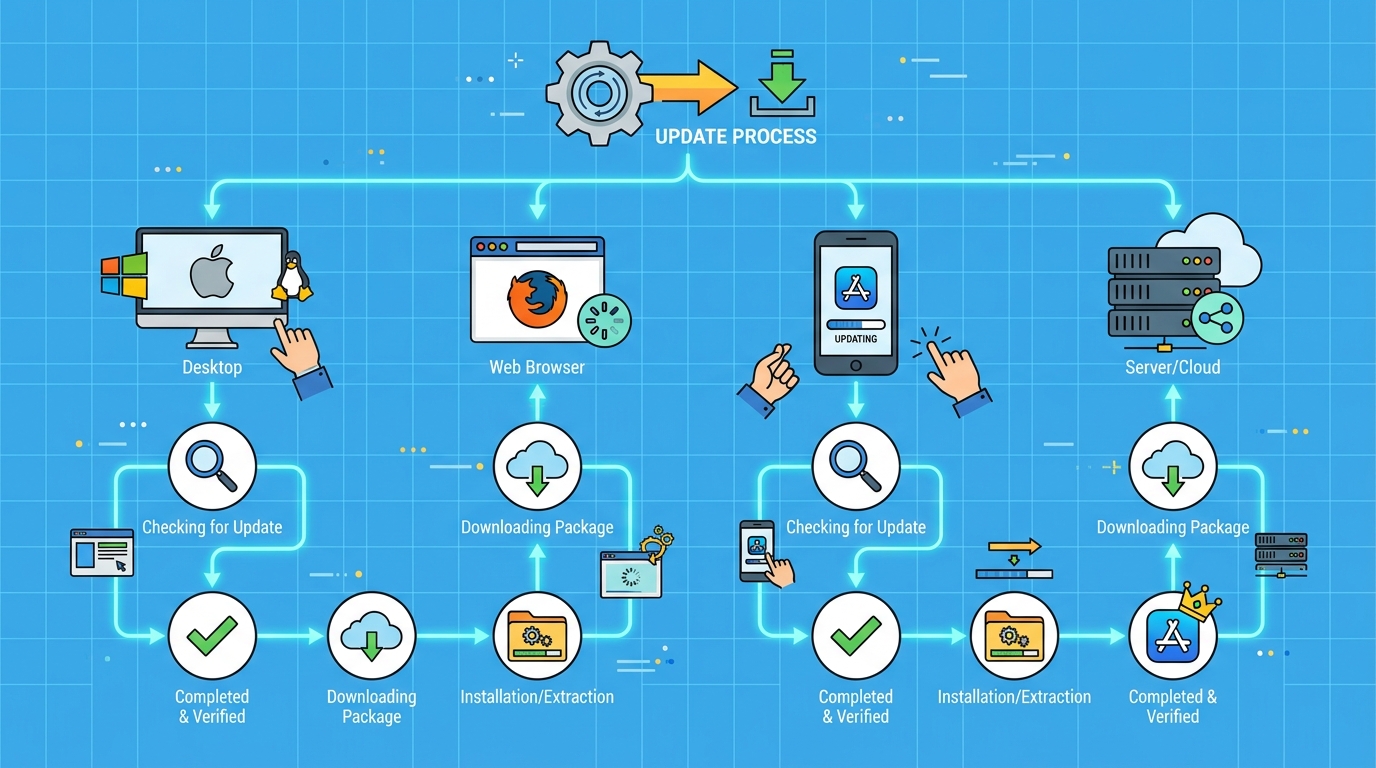
If your OpenClaw agent is still on an older build, you may be missing bug fixes, security patches, and newer skills support. The update process is simple enough, but the details matter: a bad upgrade can break config files, especially if you keep your state in ~/.openclaw.
This guide walks through updating OpenClaw on npm, Homebrew, Linux package managers, and Docker. It also covers what to back up first, how to verify the new version, and what to do when the container says it is already current but your agent clearly is not.
Check your current OpenClaw version first
Get the latest AI news in your inbox
Weekly picks of model releases, tools, and deep dives — no spam, unsubscribe anytime.
No spam. Unsubscribe at any time.
Before you upgrade anything, confirm what is already installed. That sounds obvious, but it saves time when you are comparing behavior before and after an update. OpenClaw exposes a direct version check for local installs, while Docker users need to inspect the image tag or digest.

For a local install, run:
openclaw --version
If you are using Docker, inspect the running container image instead of assuming the tag tells the whole story. Tags can point to different images over time, and cached layers can hide what is actually running on disk.
- Local install:
openclaw --version - Docker install:
docker inspect openclaw | grep -i image - Docker verification: check the image digest after the upgrade
- Best practice: record the old version before updating so you can compare behavior later
That version check becomes handy if a new release changes how skills load, how the gateway starts, or how config files are parsed. If something breaks, you want to know whether the issue began with the update or was already there.
Back up your config before you upgrade
OpenClaw keeps user data in ~/.openclaw, which usually includes settings, API keys, and conversation history. That makes backups worth the extra minute, especially before a major version jump. If the new release changes config structure, you will be glad you kept a copy.
A simple backup command is enough for most local installs:
cp -r ~/.openclaw ~/.openclaw-backup-$(date +%Y%m%d)
That creates a dated copy you can restore later if the upgrade goes sideways. For Docker, the story is a little different because the config is often bind-mounted into the container. In the example OpenClaw setup, ~/.openclaw is mounted into /home/node/.openclaw, so recreating the container does not erase your data.
“The only way to go fast, is to go well.” — Robert C. Martin
That quote fits upgrades better than most teams want to admit. A fast update without a backup is how you end up spending the next hour reading logs instead of using the agent.
Update OpenClaw on npm, Homebrew, Linux, or Docker
The update command depends on how you installed OpenClaw in the first place. If you mix package managers, you can end up with two versions on the same machine and waste time debugging the wrong one. Pick the install path you actually use and stick with it.
For an npm global install, update with:
npm update -g openclaw
If you want the latest published package explicitly, use:
npm install -g openclaw@latest
On macOS with Homebrew, the commands are:
brew update && brew upgrade openclaw
On Linux, the package manager depends on your distribution. Debian and Ubuntu use apt, while Arch uses pacman.
- Debian or Ubuntu:
sudo apt update && sudo apt upgrade openclaw - Arch Linux:
sudo pacman -Syu openclaw - Docker: pull the new image, stop the old container, then recreate it
- Managed hosting option: OpenClaw Launch handles updates automatically
Docker users should follow the full recreate flow, since the image update alone does not restart the running container. The typical sequence is pull, stop, remove, then run again with the new image. The sample command uses the ghcr.io/openclaw/openclaw:latest image, which is the official container source for the project.
If you prefer not to babysit updates at all, OpenClaw Launch advertises automatic updates and hosted deployment for around $3 per month. That is a small number compared with the time cost of maintaining a self-hosted agent across multiple environments.
Verify the upgrade and compare the upkeep cost
After the update, do two things: confirm the new version and test the agent with a real request. Version output tells you the package changed, but a live test tells you whether your config, skills, and gateway still work together.
Run the version check again:
openclaw --version
For Docker, inspect the image digest to confirm the container is actually using the new image. Then restart the agent if it runs as a service, because many installs do not load new binaries until the process restarts.
It helps to compare the maintenance burden across install methods before you settle on one. Here is the practical difference:
- npm install: quick if you already manage Node tools, but permission issues can appear on some systems
- Homebrew: simple on macOS, with one command for update and upgrade
- Linux package managers: predictable, but tied to distro packaging speed
- Docker: clean isolation, yet you still need to pull, stop, remove, and recreate containers
There is also a hidden cost in troubleshooting. If a config format changes, you may need to rename ~/.openclaw/openclaw.json, start fresh, and migrate settings from backup. If npm permissions are the issue, the fix may be as simple as using a local prefix such as ~/.npm-global instead of fighting the system install.
The trade-off is straightforward: self-hosting gives you control, while hosted management gives you less work. If you run OpenClaw in production or share it across a team, the question is whether you want to spend your time on agent behavior or on package maintenance.
What to do when an update fails
Most update problems fall into a small set of buckets. Permission errors usually mean the package manager cannot write to the global install path. Config incompatibility usually means the release changed how settings are stored. Docker cache confusion usually means the image tag is pointing at something older than you expected.
For npm permission errors, you can use sudo npm update -g openclaw, but a better long-term fix is to move npm’s global prefix into your home directory. That avoids repeated permission fights and keeps your setup easier to manage.
If the agent refuses to start after an update, check the release notes and changelog before you delete anything. A migration note can save you from unnecessary reconfiguration. When you do need a reset, rename the old config file, boot with a fresh one, and migrate your settings from the backup copy.
Docker cache issues are a little trickier. If docker pull says the image is current but you expected a new release, force a fresh pull and verify the digest. That is the only reliable way to know which image is actually running.
OpenClaw updates are manageable when you treat them like any other production change: check the version, back up state, install from the correct channel, then verify behavior with a real test. If that still feels like too much overhead, the hosted path from OpenClaw Launch is the cleaner answer. My guess is that more users will move to managed hosting once their agent becomes part of daily work, because the first broken update is usually enough to make “automatic” sound pretty good.
For related setup and deployment help, see our OpenClaw install guide and hosting guide.
// Related Articles
- [TOOLS]
Why Gemini API pricing is cheaper than it looks
- [TOOLS]
Why VidHub 会员互通不是“买一次全设备通用”
- [TOOLS]
Why Bun’s Zig-to-Rust experiment is the right move
- [TOOLS]
Why OpenAI API pricing is a product strategy, not a footnote
- [TOOLS]
Why Claude Code’s prompt design beats IDE copilots
- [TOOLS]
Why Databricks Model Serving is the right default for production infe…